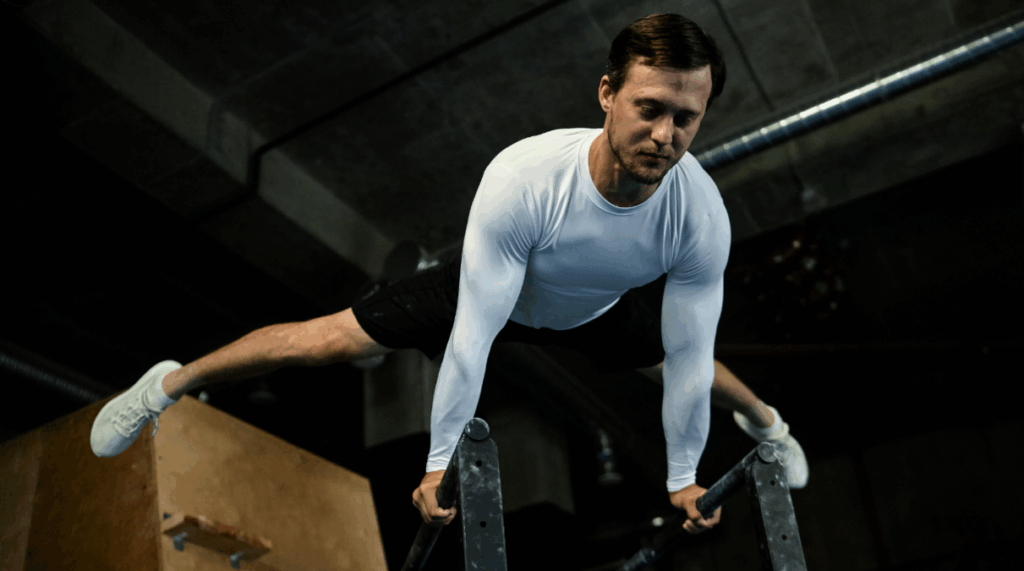
If you want to learn how to do calisthenics handstands as a beginner, you need to first work on making your shoulders stable, your wrists strong, and your core engaged. Start with wall-assisted progressions, putting your hands 6 to 8 inches from the wall and slowly moving away from the wall as you get better. You should practice three to four times a week for 20 to 30 minutes, switching between skill days (kick-up practice) and strength days (wall holds).
To get over your fear, celebrate small wins and learn how to fall correctly. Below is the path to success without help.
Essential Strength and Mobility Prerequisites
You need to work on certain physical skills that will make inversions safe and possible before you even try your first handstand. Pike push-ups and wall slides are good exercises to start with because they help stabilize your shoulders, which is important for being able to hold weight upside down.
It’s just as important to condition your wrists properly. Your hands will have to hold up your whole body weight. Add daily mobility exercises to get these joints ready for the unusual stress of handstands, which they often don’t get.
Your core engagement is your main source of power, and it keeps your body in the right position for balance. Do hollow body holds to build up the strength in your abs that keeps your back from arching when you’re upside down.
These basic parts aren’t just the first steps. As you get better, they turn shaky tries into controlled, confident inversions.

Wall-Assisted Progressions
With your foundation of strength and mobility established, the wall becomes your most valuable training partner. Start with wall-facing handstands. Place your hands 6-8 inches from the wall and walk your feet up until your body forms a straight line. This position builds shoulder endurance while developing your strength-to-weight ratio safely.
As comfort grows, progress to back-to-wall handstands. These handstand practice drills let you experience proper alignment while minimizing fear of falling. Focus on balance control by gently removing one foot from the wall for 3-5 seconds, gradually reducing contact points.

Mental Barriers and How to Break Through Them
Fear often stands as the tallest barrier between dedicated practitioners and their first successful handstand. Your mind creates scenarios of falling and injury that feel more threatening than they actually are. To overcome this fear, gradually build bodyweight strength that gives you confidence in your ability to support yourself.
Break your handstand progression into smaller achievements. Celebrate each milestone from wall touches to short holds. Focus on developing stability training exercises that reinforce muscle coordination, like controlled kick-ups with a spotter or against a wall. Practice falling safely by learning to cartwheel out of an overbalanced position.
Remember that hesitation often disrupts your balance more than technical limitations. Trust your growing capabilities and embrace the process of building control.

Balance Drills and Body Awareness Techniques for Freestanding Success
Mastering a freestanding handstand requires refined proprioception. Your body’s sense of position in space. In calisthenics training, this awareness develops through specific balance drills that train your nervous system to make micro-adjustments while inverted.
Start with hollow body position practice on the ground. This core engagement pattern creates the straight-line tension you’ll need while upside down. Progress to heel pulls and toe pulls against a wall, which simulate the balancing corrections of freestanding holds. During inversion training, focus on finger pressure changes to prevent overbalancing.
Try these body awareness techniques: practice with eyes closed in supported positions, perform balance drills on varied surfaces, and incorporate slow, controlled kick-ups with a spotter. These approaches will systematically build the neural pathways needed for freestanding success.
Creating an Effective Handstand Training Schedule for Consistent Progress
Balance drills help your brain learn how to control your handstand, but structured practice over time is what really makes you successful. Plan your week so that you have 3 to 4 handstand sessions that last 20 to 30 minutes each and focus on different parts of your gymnastics foundation.
Start each practice with wrist warm-ups, then alternate between strength days (wall holds, pike push-ups) and skill days (kick-up technique practice, balance drills). Your beginner handstand workout should include:
- Monday: Strength emphasis with 3×30-second wall holds
- Wednesday: Skill focus with kick-up practice and assisted balancing
- Friday: Combined arm balance work with hollow body training
- Weekend: Light practice or active recovery
Don’t rush progress. Consistency beats intensity for developing this skill.
Frequently Asked Questions
Can I Learn Handstands if I Have Previous Wrist Injuries?
Yes, you can learn handstands with previous wrist injuries, but consult your doctor first. Start slowly with modified progressions, use wrist wraps for support, and prioritize mobility exercises to strengthen your wrists gradually.
What Flooring or Surface Is Safest for Handstand Practice?
Practice on yoga mats over carpet for ideal cushioning and stability. You’ll want a non-slip surface that’s firm yet forgiving. Avoid concrete or slippery floors that might cause injuries during falls.
How Do Handstand Variations Differ in Difficulty Level?
Handstand variations increase in difficulty from wall-supported to freestanding to one-arm handstands. You’ll find bent-arm variations easier than straight-arm holds, while hand positioning (wide vs. narrow) affects your stability and strength requirements.
Should I Train Handstands Before or After My Regular Workouts?
Practice handstands at the beginning of your workout when you’re fresh. You’ll have better focus and energy for this skill-based movement. If you’re just warming up, do lighter handstand drills first.
Are Handstand Push-Ups Necessary for Handstand Mastery?
No, handstand push-ups aren’t necessary for handstand mastery. They’re an advanced progression you can pursue later. Focus first on achieving a stable hold before adding strength elements to your inversion practice.


